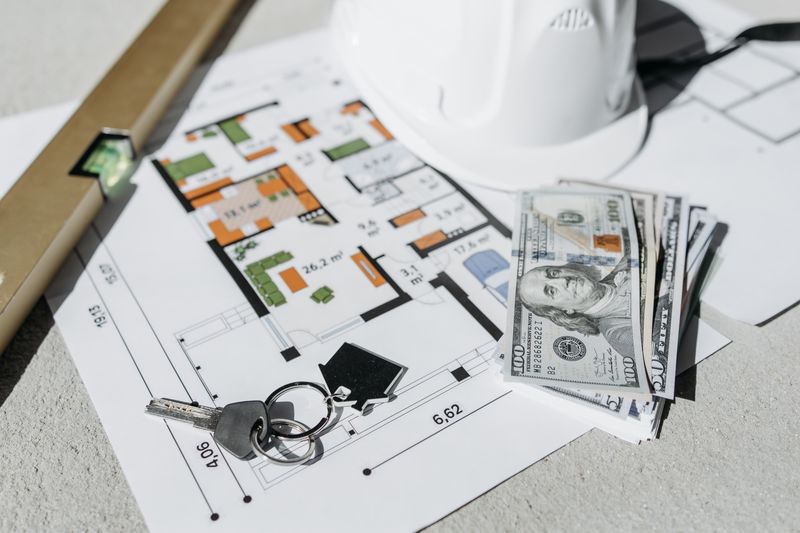
Key Takeaways
- Pricing out a project before closing on a house helps you avoid budget surprises and can shape your final offer price
- Comparing contractor quotes, DIY costs, and material-only estimates gives you a realistic range instead of a single misleading number
- Hidden expenses like permits, disposal fees, and structural fixes often add 15 to 30 percent to the base estimate
- Online calculators are useful starting points but should always be cross-checked against local labor rates and material prices
- Prioritizing repairs by safety, structural integrity, and return on investment keeps spending focused and strategic
- Setting aside a contingency fund of at least 10 to 20 percent protects you from mid-project cost spikes
- The approach you pick — contractor bids, a hybrid model, or full DIY — should match your skills, timeline, and risk tolerance
Why Pricing a House Project Matters Before You Close
Buying a house is rarely just about the sticker price. The real number is the purchase price plus every repair, upgrade, and renovation you’ll want to tackle in the first few years. Skip that math, and you can end up stretched thin before the paint on the moving boxes dries.
Most buyers underestimate what fixing or updating a property actually costs. A walkthrough might reveal dated cabinets and worn carpet, but the bigger questions — wiring, plumbing, roofing, insulation — hide behind drywall. If you don’t price those possibilities before you sign, you lose leverage during negotiation and flexibility after move-in.
The good news is that sizing up a project doesn’t require a construction background. It requires a method. By comparing a few different estimating approaches side by side, you can land on a realistic budget range and walk into closing day with a plan instead of a guess.
Comparing the Main Ways to Build an Estimate
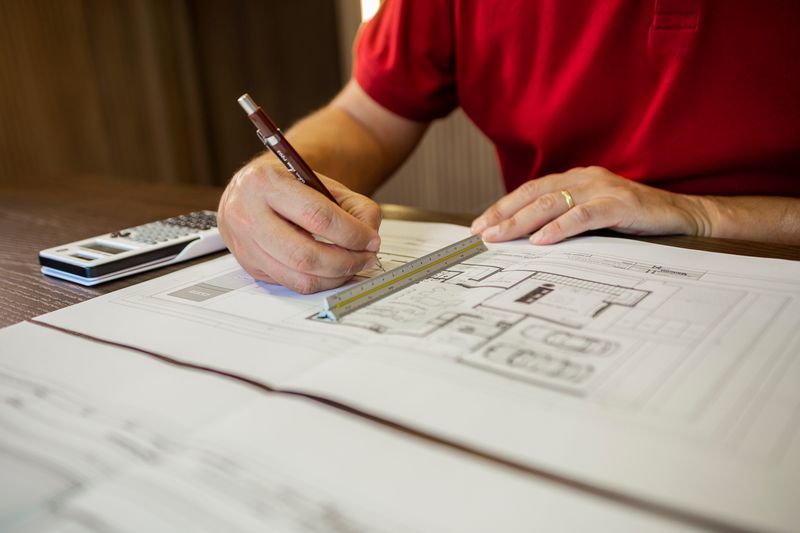
There’s no single right way to price out work on a house. Each method has trade-offs in accuracy, effort, and cost. The smartest buyers mix two or three approaches and compare the numbers.
Here are the most common options:
- Contractor bids: A licensed pro walks the property and provides a line-item quote. Most accurate, but may require seller permission, and some contractors charge for detailed estimates.
- Online calculators: Free, fast, and useful for ballpark ranges, but they rely on broad national averages and can miss local market swings.
- Cost-per-square-foot formulas: Good for whole-room renovations like kitchens or bathrooms; less reliable for mixed-scope projects.
- Material-only pricing: Walk a big-box store or scan online inventories to tally raw material costs, then add labor separately.
- Reference books and remodeling guides: Published annually with regional adjustments, these give you a middle-ground estimate between calculators and bids.
According to Angi, the national average cost to renovate a house in 2026 sits at $52,143, based on more than 11,000 verified projects. That figure is a starting benchmark, not a prediction for your specific property. A 1950s bungalow with original wiring will land in a very different spot than a 2005 build that just needs cosmetic refreshes.
When to Trust a Calculator vs. a Contractor
Calculators work well when you’re still deciding whether to even make an offer. They help you rule out money pits or confirm that a fixer-upper fits your budget range. Once you’re serious about a property, though, calculators stop being enough. That’s when you bring in two or three contractors for competing bids, which also surfaces disagreements about scope — one pro might see a small patch job where another sees a full subfloor replacement.
What Separates a Real Budget From a Wish List
A real budget accounts for everything, not just the visible work. Learning how to estimate home improvement costs means building in categories most first-time buyers forget: permits, inspections, dumpster rentals, temporary housing during major work, and the near-certain cost overruns that come with opening up old walls.
Material prices have also become a moving target. According to the National Association of Home Builders, building material costs have climbed more than 41 percent since the pandemic began, which far outpaces general inflation. A quote from six months ago may already be outdated, so always ask contractors how long their pricing stays locked.
Think of your budget in three layers. The base layer is the labor and materials for the visible work. The middle layer is permits, fees, and disposal. The top layer is contingency — money you hope you don’t spend but almost certainly will.
How Do You Spot Hidden Costs Before You Buy?
This is where most buyers get burned. The purchase inspection catches the obvious stuff, but hidden costs live in the gray zone between code compliance and modern expectations. An old electrical panel might pass inspection and still need replacement if you want to add a dishwasher, EV charger, or finished basement.
Walk the property with a critical eye and ask pointed questions. A few red flags worth pricing out before you close:
- Original single-pane windows or signs of seal failure
- HVAC equipment older than 12 to 15 years
- Galvanized or polybutylene plumbing supply lines
- Fuse boxes or electrical panels under 100 amps
- Roof shingles curling, cupping, or missing granules
- Grading that slopes toward the foundation
Each of these items can turn a cosmetic flip into a structural overhaul. Scope creep is the silent budget killer in any home improvement project, especially when one fix exposes another underlying issue. A planning resource covering home and yard upgrades can help you map out which upgrades to sequence first and which to delay.
The Role of a Pre-Purchase Inspection Add-On
A standard inspection is broad but shallow. For older properties or homes with obvious issues, pay for specialty add-ons: a sewer scope, a thermal imaging scan, a radon test, or a dedicated roof inspection. Each one costs between $150 and $500, and any single finding can save you thousands in surprise repairs or hand you serious negotiating leverage with the seller.
Weighing DIY vs. Professional Work
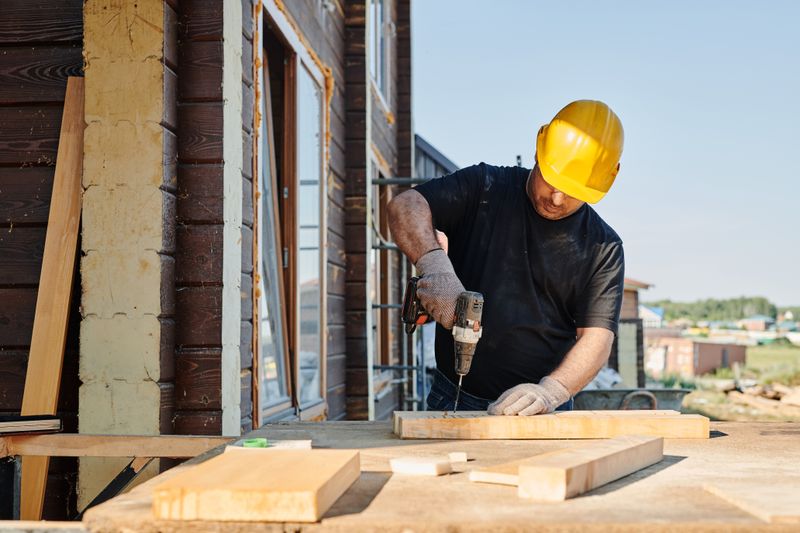
Doing work yourself feels like the obvious way to save money, and sometimes it is. But the honest math includes tool purchases, your own time, the learning curve, and the risk of redoing botched work. Not every project rewards sweat equity equally.
Projects that usually make sense as DIY:
- Interior painting and minor drywall patching
- Hardware swaps on cabinets, doors, and fixtures
- Landscaping, mulching, and basic fence repair
- Installing simple shelving, blinds, and light fixtures
- Laminate or vinyl plank flooring in small rooms
Projects almost always worth hiring out:
- Electrical panel upgrades or new circuits
- Plumbing behind walls or under slabs
- Roof replacement and structural framing
- HVAC installation
- Anything requiring permits in your municipality
The hybrid approach is often the winner. You hire a pro for the high-stakes work and handle finish carpentry, painting, or demolition yourself. A contractor who’s willing to work alongside a motivated homeowner can shave 15 to 25 percent off the total bill. Just make sure the division of labor is spelled out in writing before anyone swings a hammer.
A Simple Method for Estimating Project Expenses
If calculators feel too generic and contractor bids feel premature, try this middle-ground method. It takes about 20 minutes per project and gets you within striking distance of a real quote.
Start by breaking the project into three cost buckets: materials, labor, and extras. For materials, pull actual prices from a retailer’s website or your local supply house — don’t guess. For labor, multiply the estimated hours by a realistic hourly rate for your region (a quick search of local trade forums or asking a neighbor who just renovated will get you close). For extras, add a flat 20 percent on top of the combined materials and labor total to cover permits, delivery, disposal, and small surprises.
Here’s what the method looks like in practice for a mid-size bathroom refresh:
- Materials (tile, vanity, fixtures, paint, trim): $2,400
- Labor (40 hours at $65/hour): $2,600
- Extras at 20 percent: $1,000
- Working estimate: $6,000
Now compare that number to an online calculator and at least one contractor bid. If all three land within 15 percent of each other, you’ve got a solid planning figure. If they’re wildly different, something in your scope is off — usually it’s a missing line item or an assumption about materials grade.
Building in the Right Contingency Buffer
The contingency isn’t optional. For cosmetic work on a newer property, 10 percent is usually enough. For anything involving older systems, structural changes, or opening up walls, bump it to 20 percent or higher. Treat that money as spent the moment you commit to the project. If you finish under budget, great — put it toward the next item on your list. If you need it, you’ll be glad it was there.
Prioritizing Projects by Return and Urgency
Once you have a realistic price tag for each potential project, the next step is deciding what to tackle first. Not every upgrade earns its keep, and not every repair can wait.
Sort your list into three tiers:
- Safety and structural: roof leaks, electrical hazards, foundation issues, plumbing failures. These come first, always.
- Efficiency and livability: insulation, windows, HVAC, water heaters. These pay back over time through lower utility bills and daily comfort.
- Cosmetic and lifestyle: paint, flooring, landscaping, kitchen and bath updates. These make the house feel like yours but rarely need to happen in year one.
Resale value matters too, but only if you plan to sell within five to seven years. Kitchen and bathroom updates consistently recoup the highest percentage of their cost, while swimming pools and highly personalized additions almost never do. If you’re buying for the long haul, prioritize what you’ll actually use and enjoy rather than what a future buyer might want.
Timing Your Spend Across the First Few Years
You don’t have to do everything at once. A smart sequencing plan spreads major expenses across 24 to 36 months, giving your savings time to recover between big pushes. Tackle the urgent items in the first six months, finish efficiency upgrades within the first year, and let the cosmetic work follow on a pace that matches your cash flow. Spreading the work also lets you learn the house — you’ll make better choices about a kitchen layout after cooking in the existing one for a season.
Conclusion
Pricing out projects before you buy is less about predicting the future and more about protecting yourself from the predictable. Every property has quirks, and every renovation reveals something the previous owner hid, patched, or ignored. The buyers who come out ahead are the ones who built a method, cross-checked their numbers, and padded their budget before signing anything.
The approaches covered here — comparing quotes, pricing materials directly, building in contingency, and sequencing work over time — aren’t complicated, but they do require discipline. Spend a weekend running the numbers on any property you’re serious about. Call two contractors. Walk a supply store. Plug figures into a calculator and see where the ranges overlap. That small time investment up front can save tens of thousands over the life of the house.
Most importantly, stay honest with yourself about what you can handle, what you’ll actually finish, and what deserves a professional from day one. A realistic budget beats an optimistic one every time, and a house you can afford to maintain is worth more than a house you stretched to buy.